Create with PrimeArt
Preview a tattoo on your photo
Explore tattoo placement, scale and visual style on a real photo before discussing the final design with a professional artist.
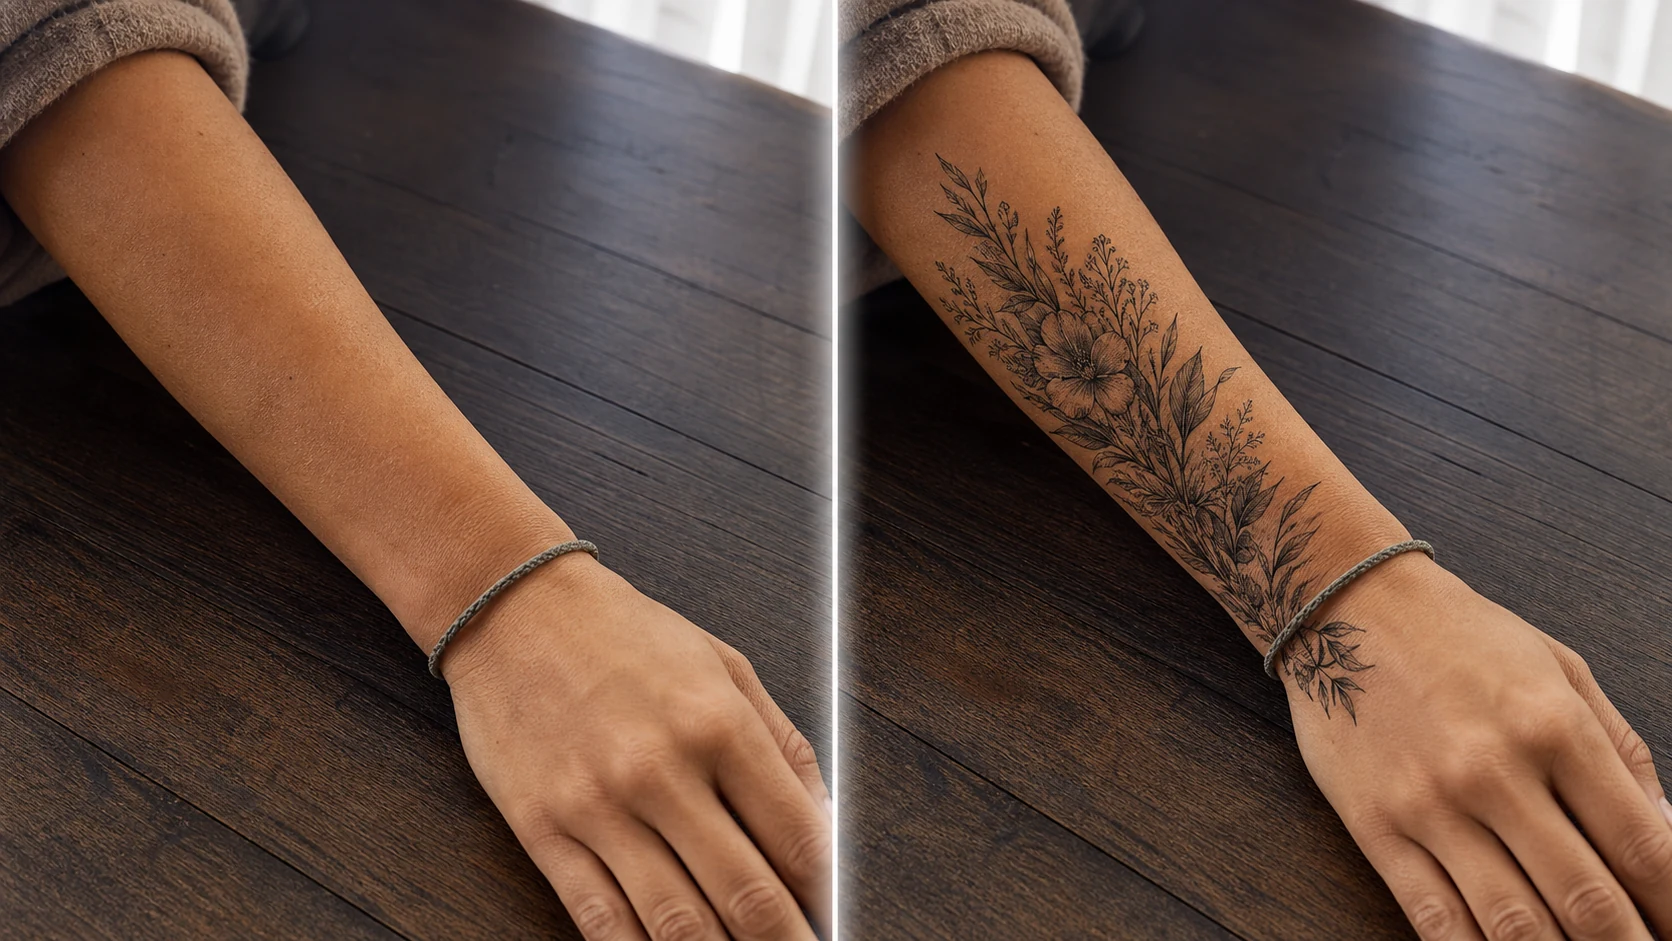
Example directions you can create
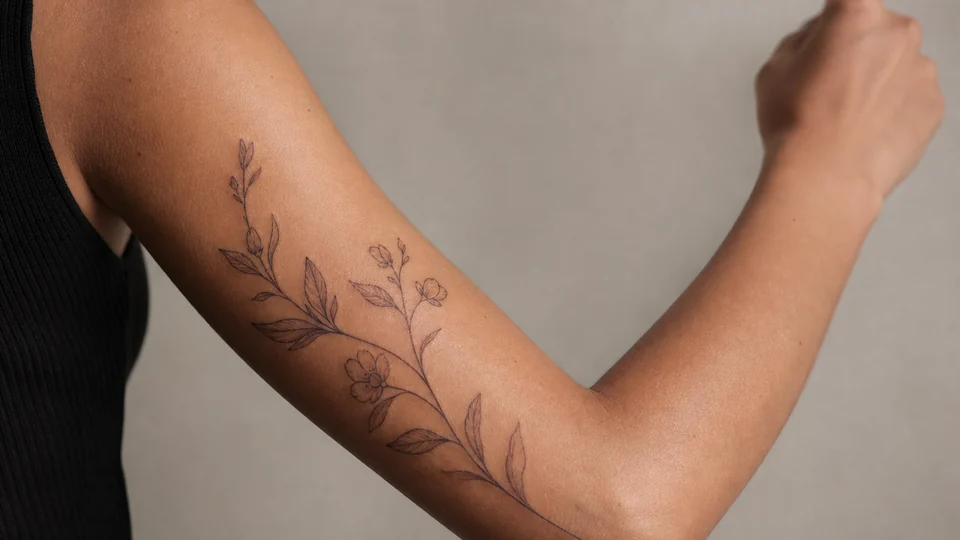
Fine-line botanical — Delicate black botanical linework following the body. 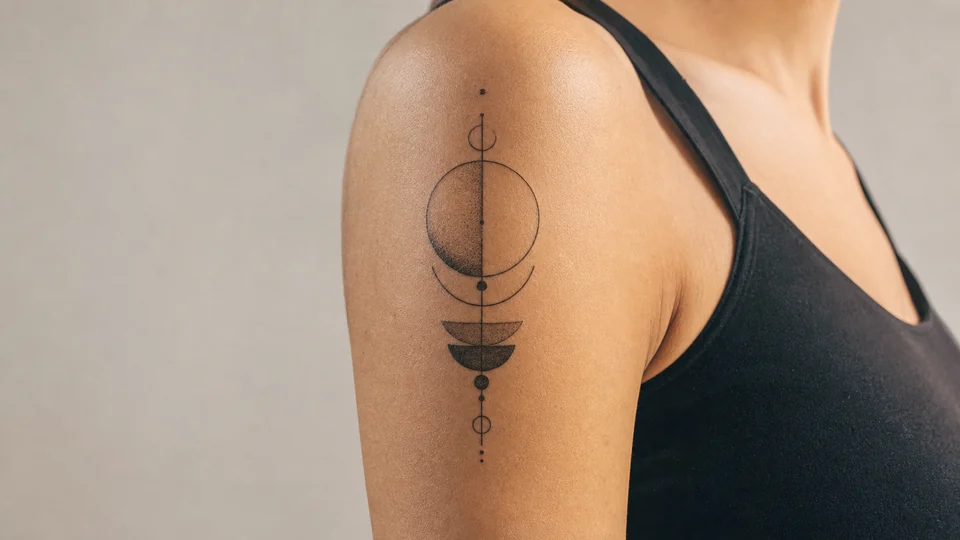
Geometric minimal — Precise balanced geometry with restrained line weight. 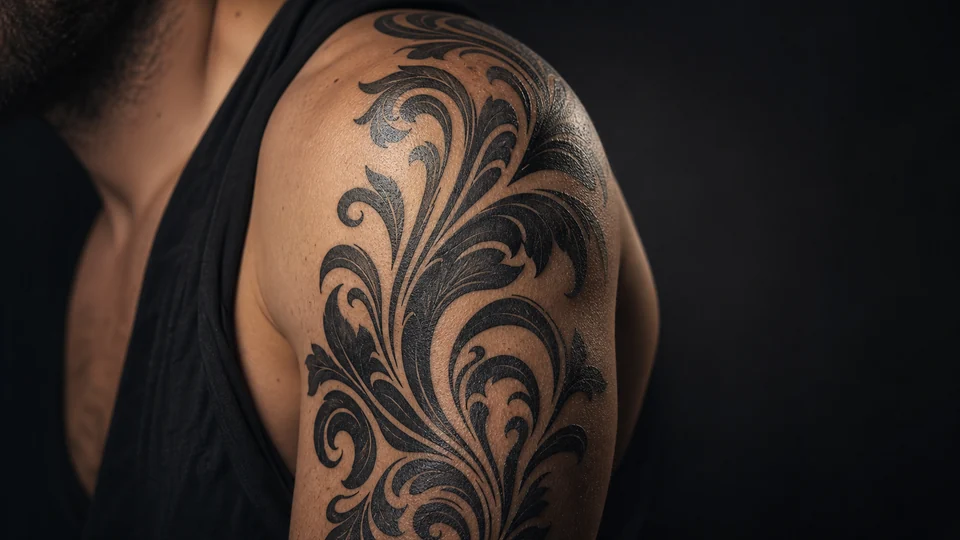
Elegant blackwork — Bolder ornamental design with realistic ink texture.
How Preview a tattoo on your photo works
Use a well-lit image where the target area is visible and not heavily curved away from the camera. Describe size, placement, line weight and visual theme.
The result is a concept preview, not a stencil or medical guide. A professional tattoo artist should adapt the final design to anatomy, skin and technical constraints.
What you can create
- Placement comparison — Test shoulder, forearm, back or other visible placements at a realistic scale.
- Style exploration — Compare fine-line, geometric, illustrative or blackwork directions.
- Body preserved — Keep pose, proportions, skin texture and the rest of the photograph unchanged.
Popular use cases
- First concept — Turn an idea into a visual conversation starter.
- Scale test — Compare a subtle mark with a larger composition.
- Placement check — See how the design follows the photographed area.
- Artist brief — Communicate mood and placement before professional redraw and consultation.
Take a useful photo for tattoo placement
Keep the camera square to the body area when possible and avoid harsh shine or deep shadow. Include enough surrounding anatomy to judge scale and orientation.
- Unobstructed skin area
- Neutral pose and even light
- Context around the placement
A preview cannot predict tattooing or healing
AI does not account for skin behavior, needle technique, line spread, movement or how ink changes over time. Complex wrapping may also distort in unseen angles.
Quality checks before showing an artist
Inspect whether anatomy stayed unchanged and whether the design follows body curvature. Check line continuity, symmetry, scale and unwanted texture changes.
- Preserve the real body shape
- Check wrap and perspective
- Use the image as a conversation reference only
How to get started
- Photograph the body area clearly — Use even light, a relaxed pose and an unobstructed view of the skin where the tattoo should appear.
- Define design, scale and placement — Describe the motif and style, then state body location, orientation and approximate coverage without changing anatomy.
- Review how the design follows the body — Check scale, perspective, skin texture and whether lines wrap naturally around curves. Use the result as discussion material, not a stencil.
Frequently asked questions
- Is an AI tattoo preview a tattoo-ready design?
- No. It is a visual concept. A tattoo artist must adapt linework, size and placement to the body, skin and technical requirements.
- Can I preview a tattoo on a curved body area?
- Yes, but wrapping and perspective are estimates from one image. Multiple viewpoints and an artist consultation are needed for real placement.
- Will the preview show the exact healed result?
- No. Skin, ink, technique, healing and aging cannot be predicted from a generated image.
- How does the prepared Preview a tattoo on your photo workflow continue in Studio?
- Use even light, a relaxed pose and an unobstructed view of the skin where the tattoo should appear. PrimeArt carries this page's selected direction and format into Studio so you can begin with that specific setup instead of an empty prompt.
Open the prepared Preview a tattoo on your photo setup
Use even light, a relaxed pose and an unobstructed view of the skin where the tattoo should appear. Continue to Studio with this page's specific direction and format already selected.