Text-to-image AI
Create images from text with AI
Describe the image you want, choose the format and generate an original visual from text. If you already have a source photo, use PrimeArt's image-to-image workflow instead.
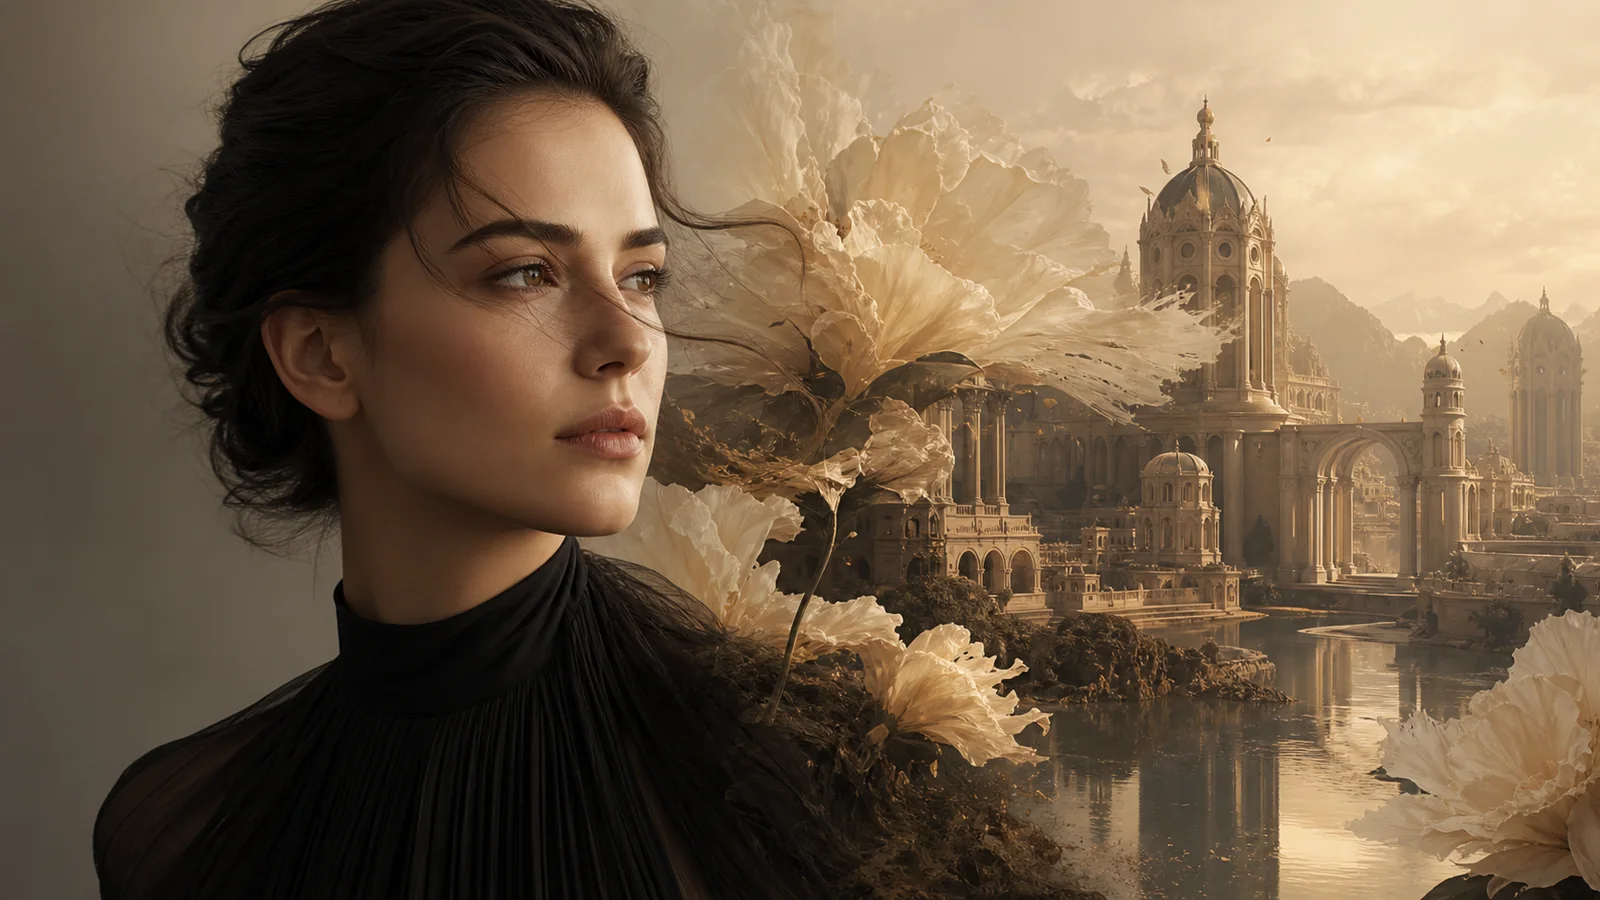
Example directions you can create
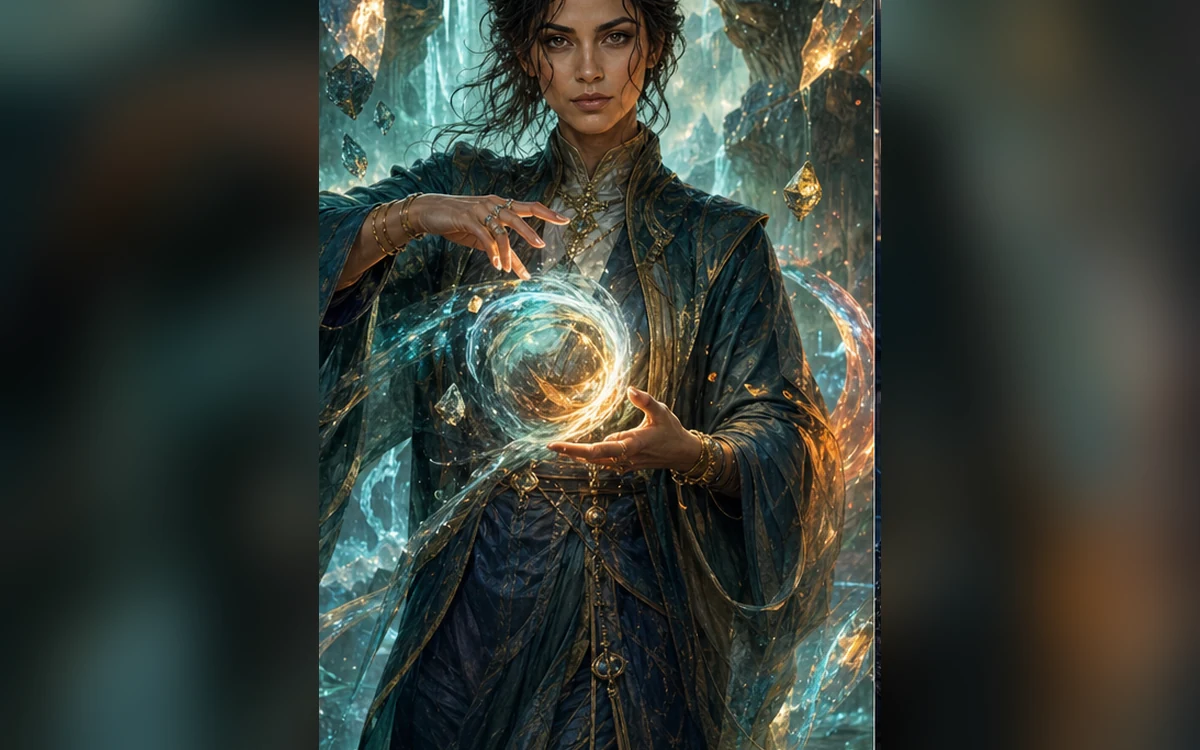
Elemental mage — Refined robes, subtle energy and an original arcane world. 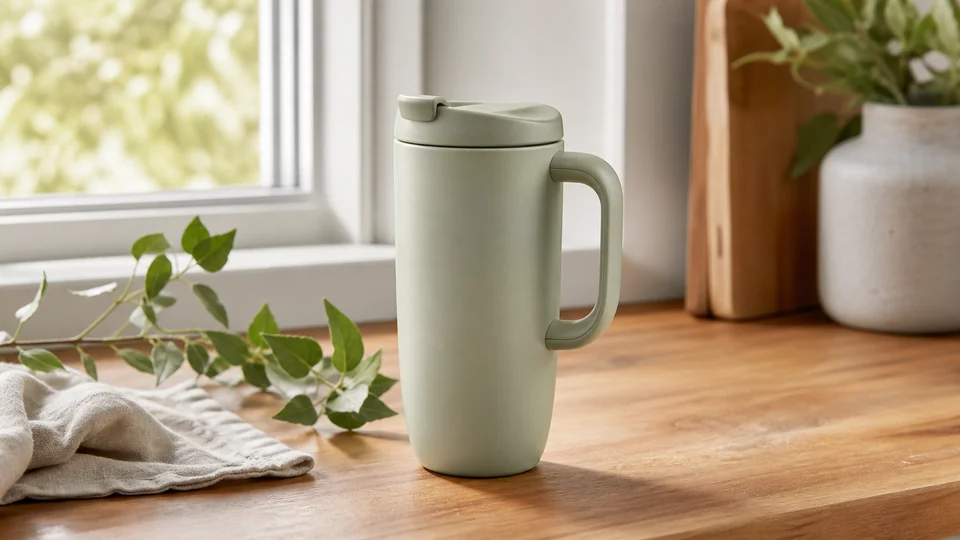
Lifestyle scene — Believable real-world setting with the product in focus. 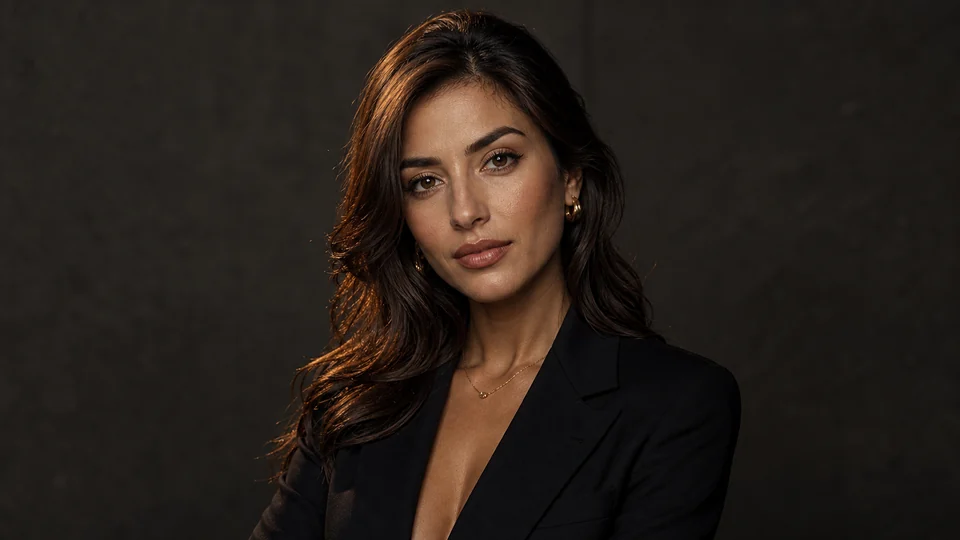
Cinematic editorial — Rich contrast, refined color and magazine-level light.
How Create images from text with AI works
Start with a written description when you want to create a new subject, scene or composition rather than preserve an existing photograph. Define the subject first, then add the setting, camera or illustration treatment, light and aspect ratio.
Keep the first prompt focused enough to evaluate. Generate a draft, inspect the result and refine one decision at a time. When a real person, product or layout must guide the output, move to Image-to-Image AI and upload that reference there.
What you can create
- Original images from a prompt — Create a new scene from text without needing a source photograph.
- Controlled visual direction — Describe composition, lighting, palette and format instead of relying on a vague style label.
- A clear refinement loop — Review the first draft and narrow the next prompt around the detail that matters most.
Popular use cases
- Concept visuals — Turn a written idea into a concrete image for a moodboard, pitch or creative review.
- Original scenes — Build a subject, environment and atmosphere that do not depend on an existing photo.
- Illustration directions — Explore graphic, painterly or stylized treatments with an original brief.
- Campaign exploration — Test compositions and visual angles before committing to a final production asset.
Write a text-to-image prompt the model can follow
Put the main subject and action first. Follow with the environment, framing, light, palette and output orientation. This order makes the creative brief easier to inspect and revise.
Avoid stacking several unrelated aesthetics in one request. A concise visual direction gives you a clearer baseline and makes the next change easier to judge.
- Name the subject and action
- Describe the environment and camera view
- Choose one lighting and color direction
- Set the intended aspect ratio
Already have a photo? Use image-to-image AI
Text-to-image is for building a new image from a written brief. It is not the best workflow when a particular face, product, building or composition must remain recognizable.
For a source-led transformation, open Image-to-Image AI, upload the reference and separate the details that must remain fixed from the details that may change.
Quality-check an AI-generated image before you use it
Review the result at full size as well as at its intended display size. Faces, hands, embedded text, logos, repeated objects and fine geometry are common areas where a plausible preview can hide an unusable detail.
Generated images can contain plausible but invented detail. Regenerate or narrow the instruction when anatomy, object count, reflections, lettering or another important element does not match the written brief.
- Inspect faces, hands and repeated objects
- Verify text, logos and fine geometry
- Check the result against the written brief
- Export only after reviewing the final crop
How to get started
- Describe the subject and scene — State who or what appears, what is happening and where the scene takes place.
- Add composition and light — Choose the shot, aspect ratio, palette and one coherent lighting direction.
- Generate, inspect and refine — Sign in before generation, review the complete image and adjust one part of the brief at a time.
Frequently asked questions
- Does this AI image generator start from text?
- Yes. Describe the subject, scene, composition and light to create a new image without uploading a source photo.
- What if I already have an image to transform?
- Use Image-to-Image AI when an existing photo should guide identity, product shape, composition or another visual detail.
- Will generated text and small details always be accurate?
- No. Inspect lettering, faces, hands, repeated objects and fine geometry before publishing or printing the result.
- Do I need an account and how do watermarks work?
- An account is required before generation. Free image results include a PrimeArt watermark. Paid image options are watermark-free and include 2K or 4K where shown in Studio; an earlier watermarked file stays unchanged.
Describe the image you want to create
Write a focused prompt, choose the format and generate the first draft in PrimeArt Studio.