Upload an existing photo, describe one focused change and tell PrimeArt what must remain unchanged. Review the source and edited result before using it.
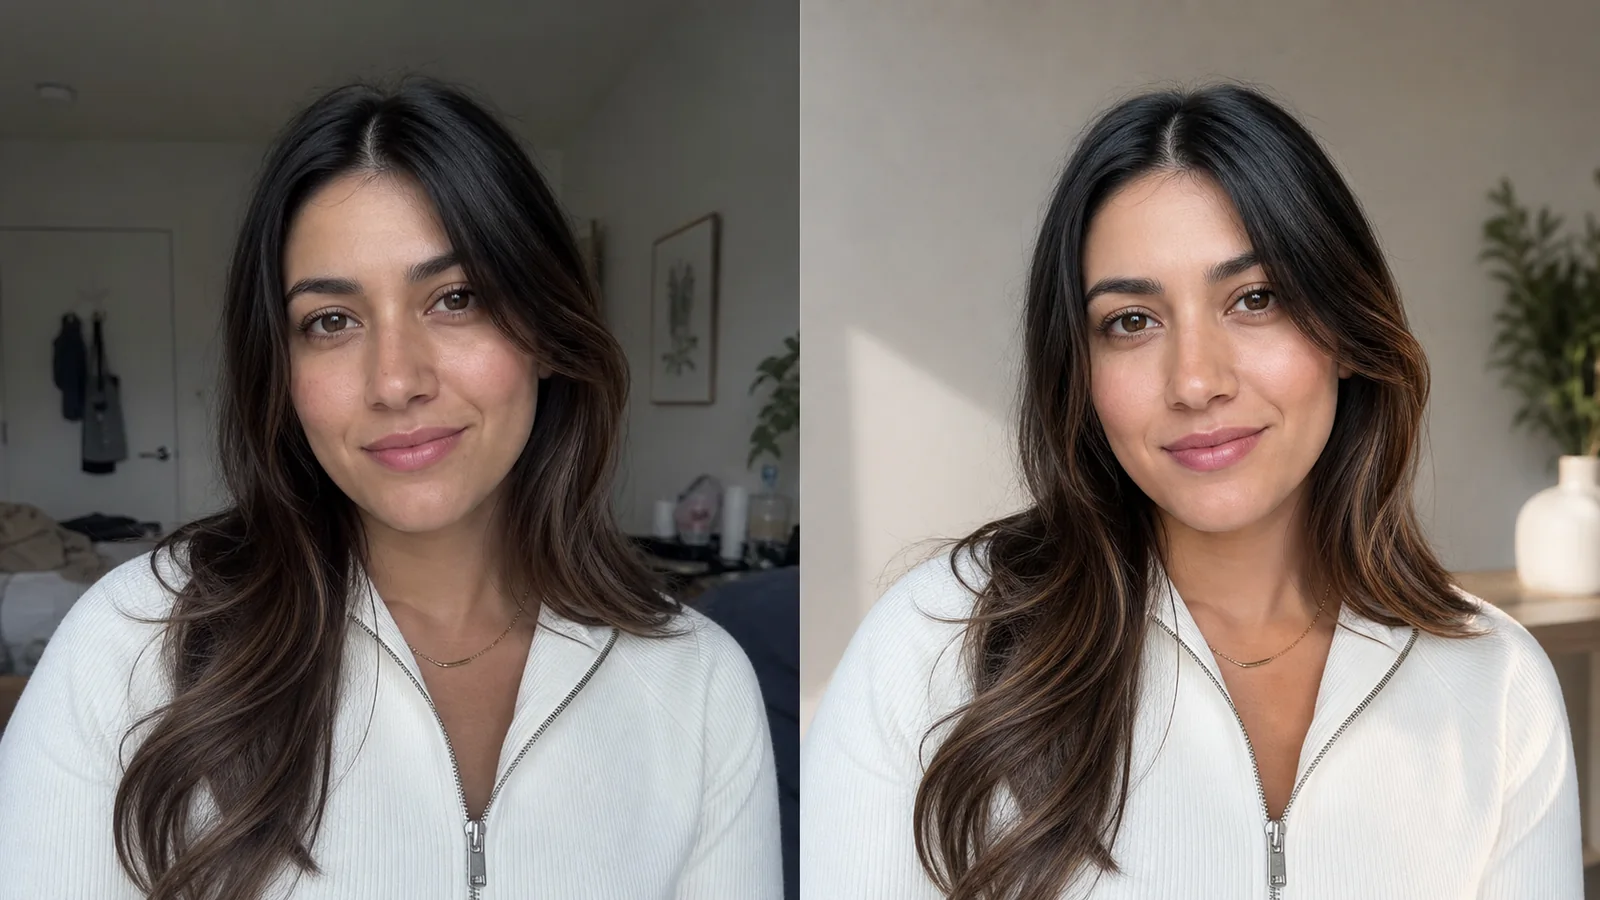
Casual portrait before and after a focused AI photo edit
Example directions you can create
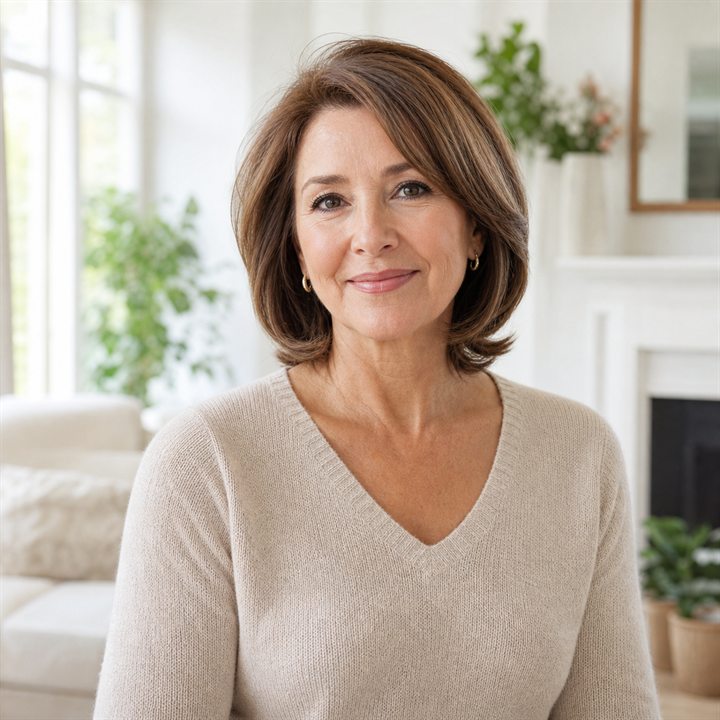
Elegant interior — Replace clutter with a bright refined interior.
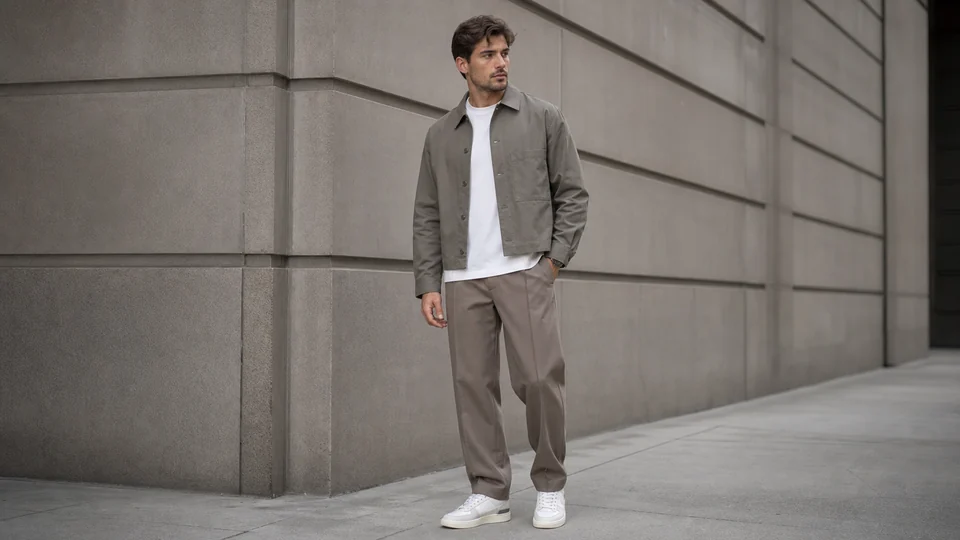
Modern streetwear — Clean layered silhouette with confident contemporary color.
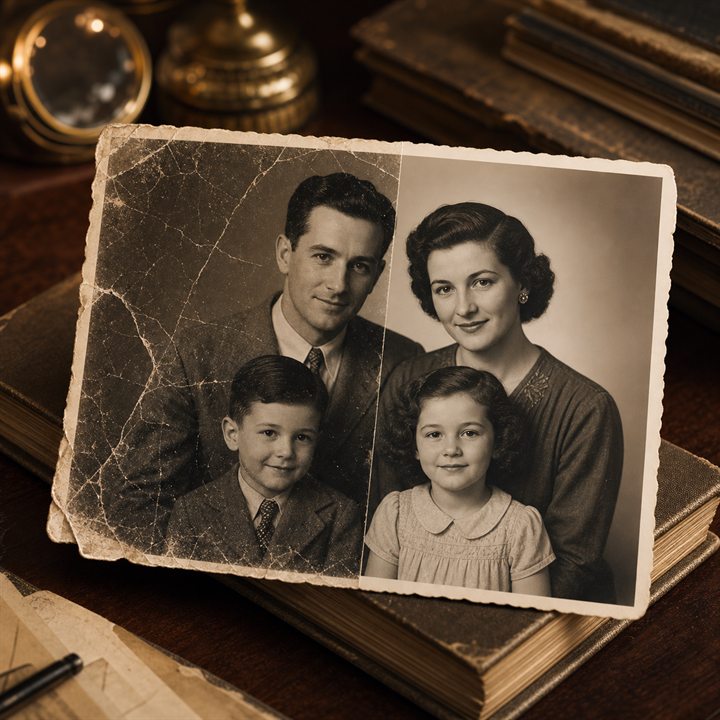
Natural repair — Repair scratches, dust and fading without modernizing the photo.
How AI Photo Editor with Text Prompts works
Use the AI Photo Editor when the source image already contains the person, product or composition you need. Describe the specific edit, then state which identity, pose, objects, crop or product details must stay fixed.
A narrow instruction is easier to control than a general request to improve everything. Compare unchanged areas with the source after every result because a generative edit can affect details outside the requested region.
Prepare your photo and instructions
Choose a prompt below, adapt it to your photo and review the result in Studio. An account is required. Free image results include a PrimeArt watermark; paid image options are watermark-free and include 2K or 4K where shown in Studio.
Focused changes to an existing photo — Keep the useful source and change the background, light, object, clothing or damaged area.
Plain-language editing — Describe the edit and protected details without building a manual layer-and-mask workflow.
Source-aware quality control — Compare identity, geometry, text and untouched regions before accepting the result.
Popular use cases
Replace a background — Move the subject into a new environment while matching perspective, light and contact shadows.
Remove an unwanted object — Reconstruct the area behind a distracting object without changing unrelated parts of the image.
Change lighting — Adjust direction, softness and time-of-day atmosphere while preserving the subject.
Change an outfit — Explore another clothing direction while keeping the person, pose and body proportions recognizable.
Repair a damaged area — Rebuild a localized scratch, fold or missing region using surrounding image context.
Apply an aesthetic transformation — Shift the visual treatment while clearly stating which person and composition must remain recognizable.
Write a precise AI photo editing prompt
Separate the requested change from the protected parts of the source. For example: replace the background with a bright studio wall; keep the person, face, pose, clothing and crop unchanged.
Add practical visual constraints such as light direction, camera angle, material and final aspect ratio. One main edit per result gives you a cleaner comparison and a more useful next instruction.
Name the one main change
State what must remain unchanged
Describe light, perspective and material
Choose the final crop or aspect ratio
Photo editing limits to expect
Generative editing can alter faces, hands, logos, labels, fabric patterns and small objects even when they were not mentioned. Object removal can also invent plausible content behind the removed area.
Treat exact typography, regulated product detail and documentary content as high-risk areas. Compare them with the original and finish exact text or claims in an editable production layer.
Inspect the boundaries of every generative photo edit
Compare unchanged areas with the source and inspect the transition around hair, fingers, clothing, transparent objects and product edges. A broad edit can affect regions that were not mentioned in the instruction.
Check contact shadows, reflections, light direction and perspective so the edited subject belongs in the new scene. Verify text, labels and logos separately because generative editing may alter them.
Compare protected areas with the source
Inspect hair, hands and transparent edges
Match shadows, reflections and perspective
Verify every label, logo and line of text
Remove an unwanted object by naming it and its position
Identify the distraction precisely: for example, the red bin at the right edge, rather than every object in the background. Describe the surface it covers and ask the editor to continue that pavement, wall or fabric using the existing perspective and light.
Keep the main subject, neighboring objects and crop in the instruction. After object removal, check repeating textures and shadows around the repaired area; the content that was hidden behind the object is generated rather than revealed.
Change the lighting or the background in separate passes
Choose exposure correction when you like the scene but the photo is too dark. Choose relighting when you want a different direction or softness of light. Choose background replacement when the location itself should change. Naming the task makes the next instruction easier to evaluate.
If you need both a new background and new light, first approve the setting, then request a focused lighting refinement of that result. Check that shadows, reflections and the light on the subject agree rather than judging the backdrop alone.
Photo editing prompts you can adapt
Paste a prompt into the photo instructions above and replace the example details with what is visible in your image. Describe one main change so the result is easier to compare with the source.
Remove an unwanted object
Start with: A photo with a clearly identifiable distraction; replace the red-bin description with your object.
Remove the red rubbish bin at the right edge of this photo. Rebuild only the area it covers using the surrounding pavement, wall texture and existing light. Keep the main subject, people, camera angle and crop unchanged. Match the neighboring shadows and perspective so the repaired area blends naturally. Do not remove other objects or smooth the whole image.
Check the result: Inspect the repaired edge, repeating textures and shadows. Confirm that nearby hands, clothing or furniture were not altered.
Start with: A sharp portrait with the full hair outline and shoulders visible.
Replace the background behind this person with a softly blurred, neutral studio backdrop in warm gray. Keep their face, hairstyle, expression, clothing and pose as close to the original as possible. Preserve fine hair edges and the full shoulder outline. Match the backdrop lighting to the existing light on the face. Keep the current crop and avoid adding furniture or props.
Check the result: Check hair, glasses and shoulder edges for halos. Compare the face with the original before accepting the new background.
Start with: An underexposed portrait with some usable detail still visible in the darker side of the face.
Improve the lighting in this portrait as if a large soft window were just outside the frame. Gently lift dark facial shadows, keep bright areas detailed and give skin a natural color balance. Preserve facial proportions, expression, freckles, wrinkles and clothing texture. Keep the background and composition unchanged. Aim for a believable exposure correction rather than beauty retouching or dramatic relighting.
Check the result: Look for lost skin texture, clipped highlights and changed eye color. Reduce the lighting change if the face starts to look different.
Upload the cleanest source available — Use the largest original file, especially when faces, labels or small product details matter.
Describe one edit and protected details — State what should change, then name the identity, objects, crop and text that should remain fixed.
Compare the complete result — Inspect changed and unchanged areas, then make a narrower follow-up request if anything drifted.
Frequently asked questions
Can I edit my own photo with a written prompt?
Yes. Upload a supported source image, describe one specific change and state which parts of the photo must remain unchanged.
Can the editor remove objects or replace backgrounds?
Yes. These are supported prompt-led edits, but the generated area, fine edges, shadows and reflections still need a careful review.
Will identity, logos and text remain exact?
Not always. Compare faces, labels, logos, typography and other fixed details with the original before using the edited image.
Do I need an account and are free results watermarked?
An account is required before editing in Studio. Free image results include a watermark. Paid image options are watermark-free and include 2K or 4K where shown; a previous watermarked result stays unchanged.
How do I specify which object to remove from a photo?
Name the object and its location, such as the red bin at the right edge. State which nearby people, objects and crop should stay unchanged, and describe the surface that should continue behind it.
Should I change the background and lighting in one prompt?
A separate pass for each major change is easier to compare. Approve the background first, then adjust light while checking shadows, reflections and the subject against the source.
When should I use the photo editor instead of image-to-image generation?
Use the editor for a focused change to an existing photo, such as removing one object or replacing a background. Use image-to-image when you want a broader new scene or visual style guided by the source.
Upload a photo to edit with AI
Choose the source, describe one focused change and compare every protected detail before downloading the result.