Upload an existing image, separate the details that must remain fixed from those that can change and generate a new visual direction from the same source.
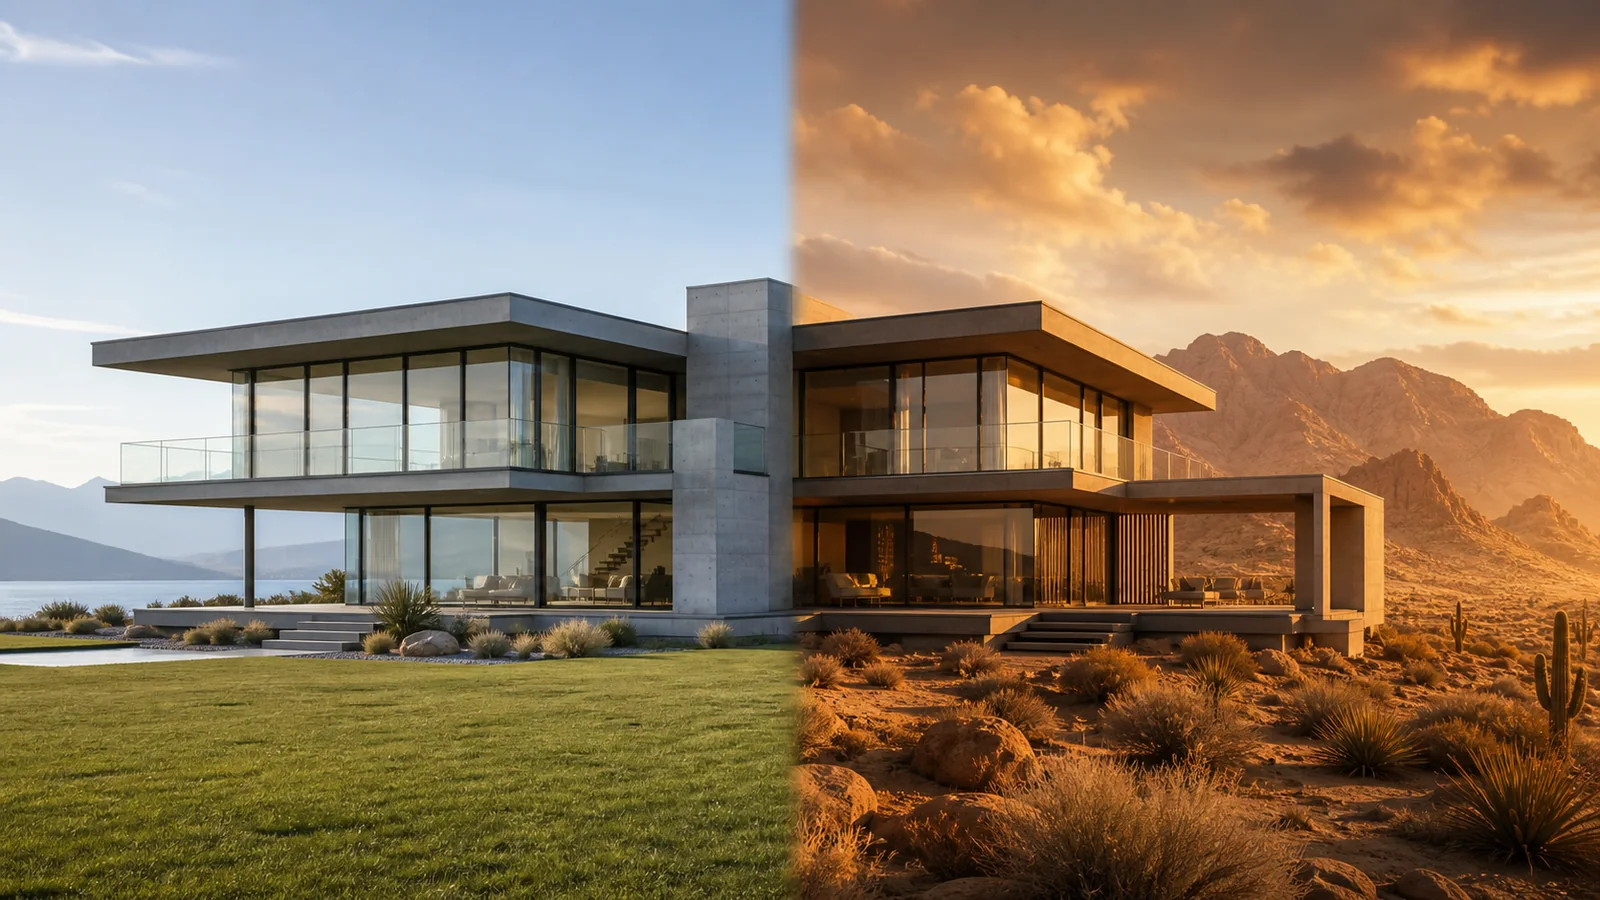
The same house transformed from a daylight reference into a cinematic AI scene
Example directions you can create
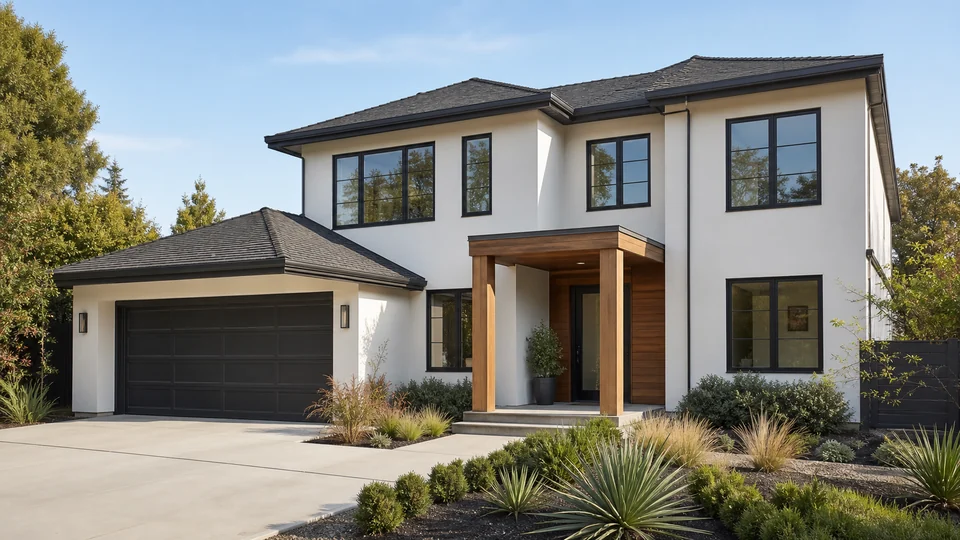
Modern minimal — Light facade, dark trim and restrained landscaping.
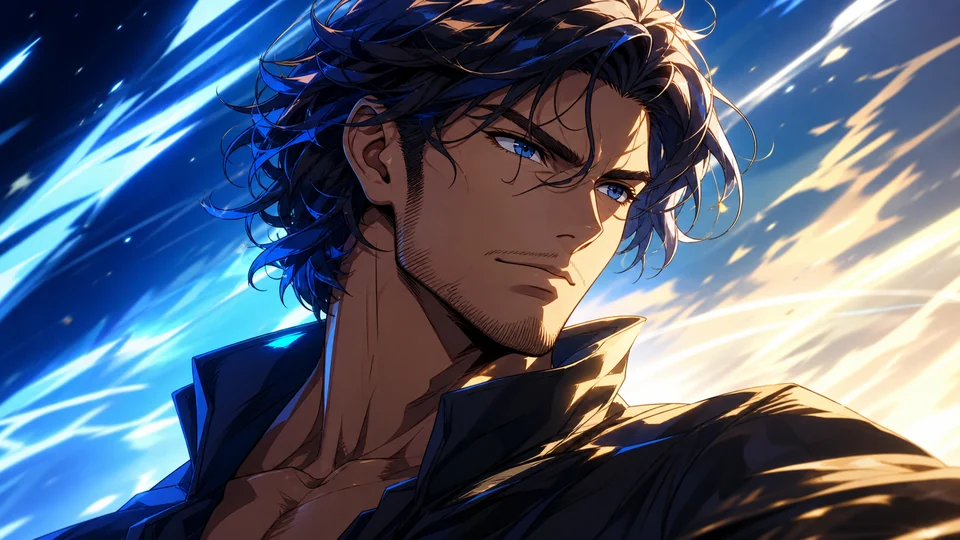
Dynamic shōnen — Stronger linework, dramatic light and energetic framing.
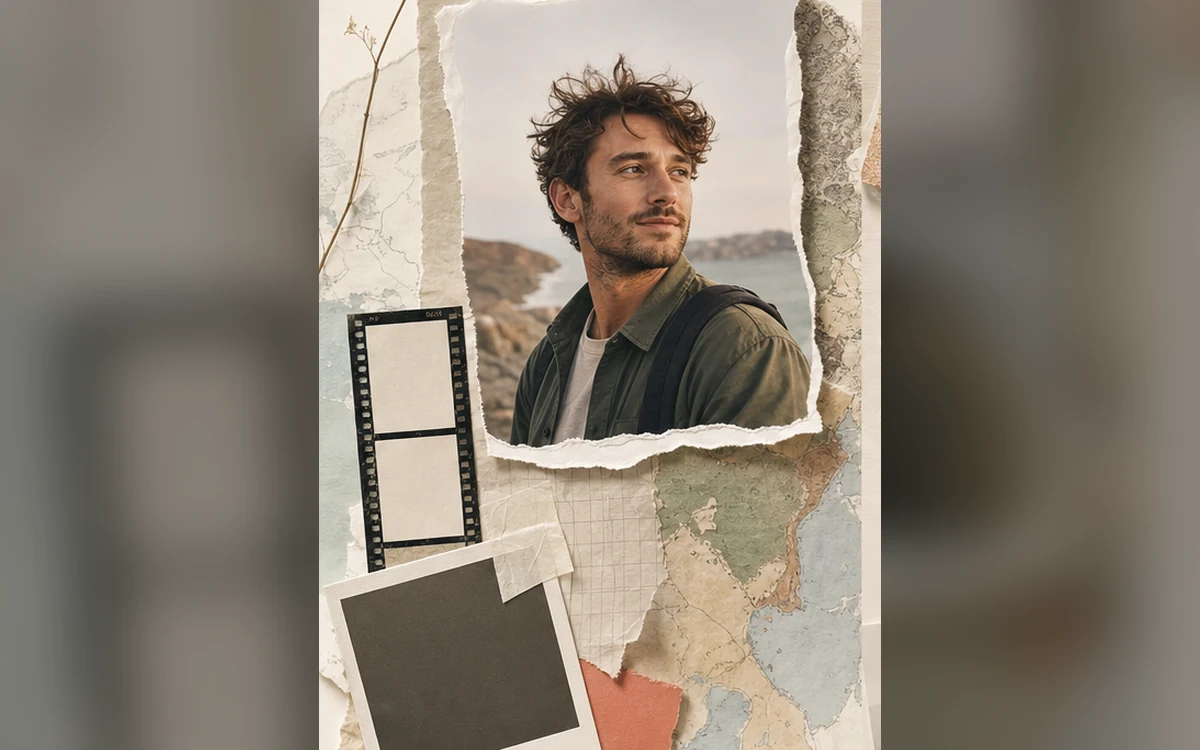
Travel journal — Layered memories, map-like shapes and warm paper texture.
How Transform a photo with image-to-image AI works
Image-to-image AI uses an uploaded reference to guide the new output. The source can communicate identity, product shape, camera angle, silhouette, palette or composition more directly than text alone.
A reference improves control but does not guarantee perfect identity or pixel-level consistency. Decide what is fixed and what is flexible before generating, then compare the result with the same source rather than judging style alone.
Prepare your photo and instructions
Choose a prompt below, adapt it to your photo and review the result in Studio. An account is required. Free image results include a PrimeArt watermark; paid image options are watermark-free and include 2K or 4K where shown in Studio.
Multiple directions from one source — Use the same reference to explore cinematic, illustrated, editorial, professional or other supported transformations.
More visual guidance than text alone — Communicate subject, silhouette, angle and composition through the uploaded image.
Explicit control of what may change — Separate protected identity or geometry from flexible background, lighting and styling.
Popular use cases
Portrait restyling — Transform a portrait into another photographic or illustrated direction while checking facial identity.
New scene from an existing subject — Keep the main subject and explore another environment, season or lighting setup.
Professional presentation — Use a casual source as guidance for a more controlled background, crop and visual tone.
Product scene exploration — Keep product shape and color as reference while testing contextual photography concepts.
Composition-led variation — Use a strong layout or camera angle as the basis for a new visual execution.
What makes a strong image-to-image reference?
The most useful reference clearly shows the subject, camera angle, proportions or composition you want the model to understand. It does not need elaborate styling if the task is to change that styling.
Avoid tiny, heavily compressed or cluttered files. Use a sharp image with even light and little obstruction when a face or product must remain recognizable.
Clear subject and silhouette
Useful camera angle and crop
Enough resolution for important details
Limited obstruction around the focal point
Identity preservation is guidance, not a guarantee
A portrait reference can guide facial structure, age cues and hairstyle, but stylization, new poses and dramatic changes may reduce resemblance. Product references can also drift in labels, logos, proportions and fine geometry.
When identity or fidelity matters, keep the transformation narrower, protect the important details in the prompt and compare every result with the uploaded source.
Image-to-image quality check: fixed versus flexible details
Return to the brief and compare every detail marked as fixed with the reference. Check identity, silhouette, product geometry, object count, camera angle and composition before judging the new style or background.
Inspect areas invented outside the original crop as well as faces, hands, reflections and text. When too many fixed elements drift, simplify the transformation instead of adding more instructions to the same prompt.
Compare identity and silhouette
Verify product shape and object count
Check newly invented image areas
Narrow the next change when structure drifts
Use text-to-image for a completely new scene
Choose the AI Image Generator when no particular person, product or composition needs to be preserved. Text-to-image allows more invention because it starts from a written brief rather than a visual reference.
Use image-to-image when the source contains important visual information that would be difficult or inefficient to describe with words alone.
Give each reference image a clear role
Start with one image when it already shows the subject and composition you want. If you add another reference, explain its purpose: one photo for the person or product, another for the setting, palette or visual treatment. Do not leave the model to guess which reference defines the main subject.
Conflicting faces, product versions or camera angles can make the brief harder to follow. Use compatible references, identify the details to borrow from each and remove an extra image when it adds ambiguity rather than useful information.
Identify the main subject reference
Assign style or setting references separately
Avoid conflicting identities and product versions
Transform a photo, then refine the part that needs work
Use image-to-image generation to explore a broad direction such as turning a travel photo into an illustration or moving the subject into another scene. Once the composition works, a focused photo edit can address one remaining background object, lighting issue or clothing detail.
Keep the original reference for comparison and choose the approved result as the starting point for the next edit. Repeating the entire transformation when only one detail needs changing can make it harder to retain the parts you already liked.
Image-to-image prompts with a clear visual direction
Paste a prompt into the photo instructions above after choosing a clear reference. Each example separates the details to keep from the style, light or setting to change.
Turn a travel photo into watercolor
Start with: A travel photo with a distinct building or landscape and a clear composition.
Transform this travel photograph into a light watercolor illustration on textured off-white paper. Keep the main building shapes, horizon, camera angle and placement of people consistent with the reference. Use transparent washes, softly bleeding edges and a few delicate pencil lines. Simplify minor background detail while preserving the recognizable location. Keep the original color relationships and leave a narrow unpainted paper border.
Check the result: Compare the skyline, building proportions and positions of people. Simplification should support the illustration without replacing its main subject.
Start with: A clear outdoor scene with visible architecture, ground surfaces and existing shadows.
Reimagine this outdoor scene during warm golden-hour light. Keep the building geometry, road layout, vegetation and camera position consistent with the reference. Add low, gentle sunlight from the left, longer believable shadows and a softly glowing sky. Retain realistic materials and the original object count. Make the atmosphere warmer without turning the scene orange or adding new structures, people or vehicles.
Check the result: Check window placement, rooflines and shadow direction. Reject versions that reshape the scene while changing the light.
Start with: A recent portrait with a clearly visible face and enough space around the shoulders.
Use this portrait as the reference for a quiet editorial photograph. Keep the person's recognizable facial features, hairstyle, age and pose. Change the setting to a simple warm beige studio with soft side lighting and subtle film grain. Use a muted wardrobe color that works with the background. Keep natural skin texture, generous space around the head and a calm, unforced expression.
Check the result: Compare facial proportions and hairstyle first, then inspect clothing edges and the crop. Narrow the styling request if resemblance drifts.
Upload a useful reference image — Choose a clear source that shows the subject, proportions, angle or composition you need.
Separate fixed and flexible details — State what must remain recognizable, then describe the scene, style or light that may change.
Compare every output with the source — Check identity, silhouette, product geometry, object count and newly invented areas before refining.
Frequently asked questions
What does image-to-image AI use from my photo?
The reference can guide identity, shape, angle, silhouette, palette or composition while your prompt describes what should change.
Will the result preserve identity perfectly?
No. A reference improves guidance but cannot guarantee exact identity. Compare facial features, age cues, hair and proportions with the source.
When should I use text-to-image instead?
Use text-to-image when you want a completely new scene and do not need to preserve a particular person, product or composition.
Do I need an account and what output options are available?
An account is required before generation. Free image results include a watermark. Paid image options are watermark-free and include 2K or 4K where shown in Studio; earlier watermarked files remain unchanged.
Do I need several reference images to transform a photo?
No. Start with one clear image when it already shows the subject and composition. Add another only when it supplies useful setting or style information, and explain which details to use from each.
Can I combine a subject reference with a style reference?
You can use compatible references and explain their roles in the prompt: which image defines the subject and which guides the visual treatment. The model may still blend or alter details, so compare the result with the subject source.
What should I do if I like the generated scene but one detail is wrong?
Use the approved result for a focused photo edit of that detail and state which parts should remain unchanged. Keep the original reference nearby to review identity, structure and product features.
Upload an image to transform with AI
Choose one clear reference, define fixed and flexible details and compare the generated result with the source.