AI photo restoration
Restore old photos with AI
Upload the best scan or straight-on photo available, repair visible damage and preserve the untouched original alongside the restored version.
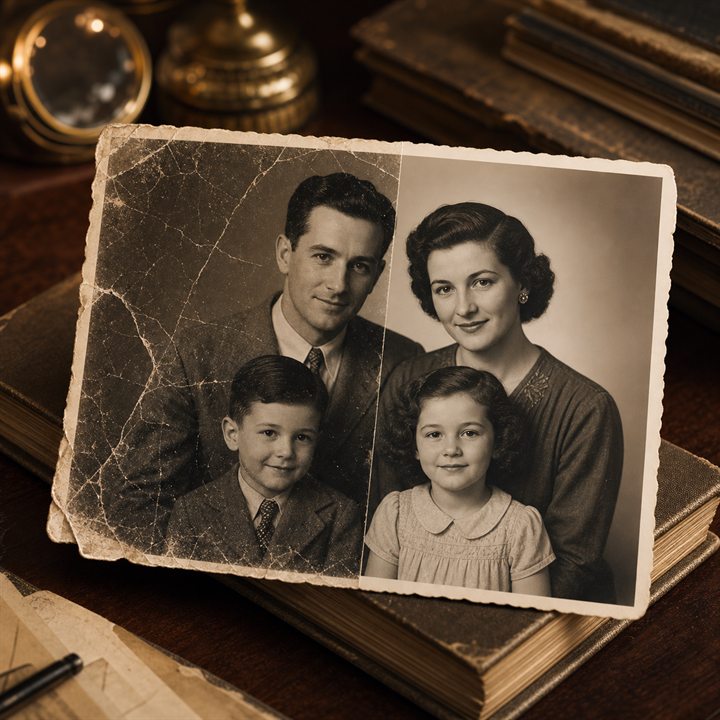
Example directions you can create
Natural repair — Repair scratches, dust and fading without modernizing the photo. 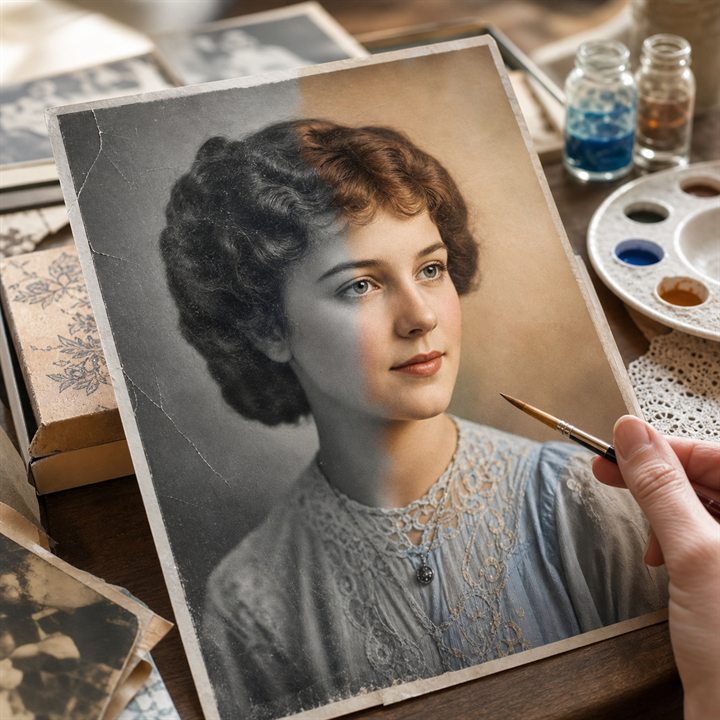
Natural color — Add restrained, historically believable colors. 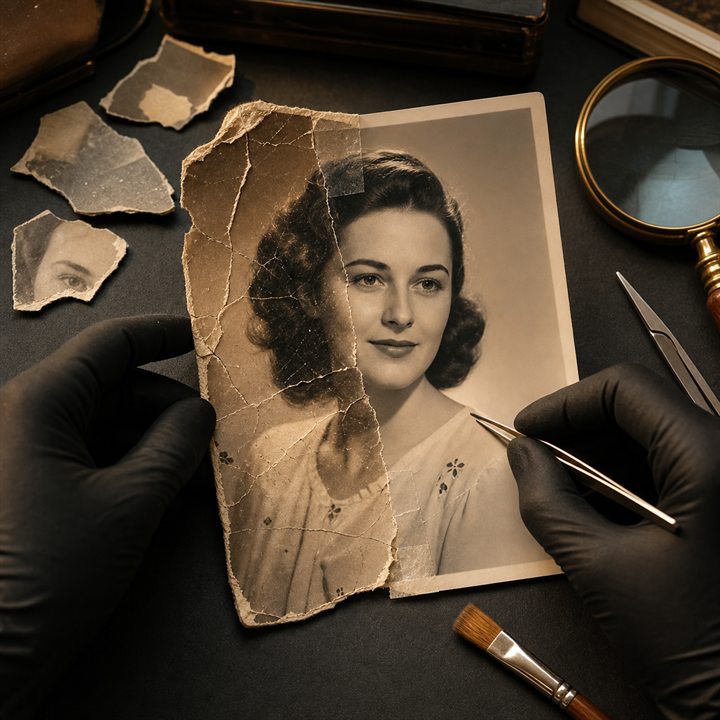
Deep reconstruction — Rebuild torn and genuinely missing fragments.
How Restore old photos with AI works
AI restoration can reduce scratches, tears, dust, fading and low contrast, and it can reconstruct plausible detail in damaged areas. Start from the highest-quality scan or photograph available so the model has as much real information as possible.
A restoration is an interpretation, not verified historical evidence. Keep the original file unchanged, compare faces and period details carefully and label the restored copy when it enters a family or institutional archive.
What you can create
- Repair visible surface damage — Reduce scratches, folds, tears, stains and dust while preserving the original composition.
- Recover faded tonal range — Improve low contrast and faded color without erasing the photographic character of the source.
- Reconstruct missing areas cautiously — Fill damaged regions with plausible detail while treating the result as generated rather than historically verified.
Popular use cases
- Scratched family photograph — Repair surface marks while checking every face against the untouched scan.
- Torn or creased print — Reconstruct damaged paper regions using the surrounding image as context.
- Faded low-contrast portrait — Recover tonal separation without making skin, clothing or film texture look artificial.
- Black-and-white colorization — Explore plausible color only when colorization is selected, and do not present it as verified historical color.
What AI photo restoration can repair
A focused restoration can reduce scratches, cracks, tears, stains, dust, fading and weak contrast. It can also rebuild plausible pixels where part of the paper image is missing.
Work on the most important damage first. A conservative repair is easier to compare with the source than a single request that also recolors, reshapes faces and changes the photographic style.
- Scratches and dust
- Tears, folds and creases
- Fading and low contrast
- Plausible reconstruction of damaged areas
What AI cannot know about an old photograph
The model cannot verify the real appearance of detail that no longer exists in the source. Reconstructed eyes, clothing, signs, architecture and background objects may look convincing while still being historically wrong.
Colorization is also an estimate unless reliable references survive. Keep the original scan and avoid presenting a generated restoration as factual evidence.
How to prepare an old photo for restoration
Scan the print flat at the highest practical resolution. If a scanner is unavailable, place the photograph on a level surface, keep the camera perpendicular to it and use soft, even light.
Avoid glare, deep shadows, perspective distortion and screenshots of an existing scan. Save the untouched master before uploading or editing any copy.
- Scan flat at high resolution
- Keep the camera perpendicular to the print
- Avoid glare and deep shadows
- Preserve the untouched master file
Quality-check a restored family or archive photo
Compare the restored image with the untouched scan at the same zoom level. Check faces, age cues, hairstyles, clothing, jewelry, signage and architecture before accepting reconstructed detail.
Keep a separate master copy of the source and label the restored version when it enters a family or institutional archive. Generated repairs can be visually useful without being verified historical evidence.
- Compare every face with the source scan
- Check period clothing and background details
- Keep the untouched master file
- Label generated restoration in an archive
How to get started
- Capture the best source — Scan the print flat at high resolution, or photograph it straight on with even light and no glare.
- Choose the restoration task — Repair the visible problem first: scratches, tears, fading, low contrast, missing areas or colorization.
- Compare and archive both versions — Inspect reconstructed detail against the source and preserve the untouched original separately.
Frequently asked questions
- What kinds of old-photo damage can AI repair?
- PrimeArt can reduce scratches, tears, folds, dust, fading and low contrast, and reconstruct plausible detail in damaged regions.
- Can AI know exactly what a missing detail looked like?
- No. Missing faces, clothing and background detail are reconstructed estimates, not verified historical facts.
- Should I scan or photograph the print?
- A flat, high-resolution scan is best. If you use a camera, keep it perpendicular to the print and avoid glare, shadows and perspective distortion.
- Do I need an account and what happens to watermarked results?
- An account is required before restoration. Free image results include a watermark. Paid image options are watermark-free and include 2K or 4K where shown in Studio; an earlier watermarked file remains unchanged.
Upload the old photo you want to restore
Use the best source available, repair one class of damage at a time and keep the untouched original safely archived.